Overview
Due to the nature of millions of possible scenarios of different code, plugins, themes, servers, caching, versions, and so much more in WordPress, there are many issues that only happen on your website that we cannot replicate on our own websites. In these situations, we will ask you to provide login access to your site so that we can investigate it and get it resolved. This guide will explain how to create a temporary WordPress support user account for the support team at Pee-Aye Creative.
1. Install Support Plugin
The most efficient and secure way to create a support user account for us is to install a plugin called Temporary Login Without Password. This plugin adds a temporary self-expiring admin support user account on your WordPress website, and generates a special temporary link with which our support team can log in to your WordPress website without needing to bother with usernames and passwords.
You can find this free plugin easily in the WordPress repository by going to Plugins>Add New and searching for “temporary login.”
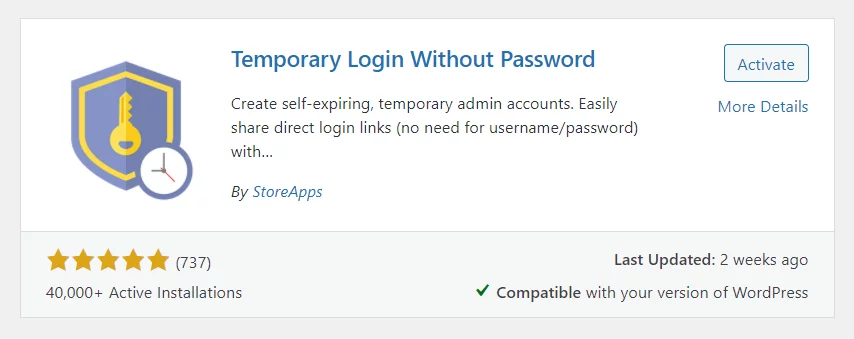
After installing the plugin, click the “Activate” button.
2. Create Temporary Support User
Immediately after activating the plugin, you will be redirected to the main settings page for the plugin. You can also access this page from the new “Temporary Logins” menu item under the “Users” menu.
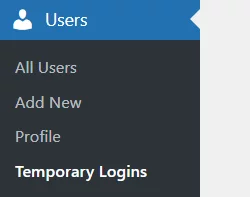
On this screen, click the “Create New” button at the top.

This will bring up a form to enter details to create a new temporary login.
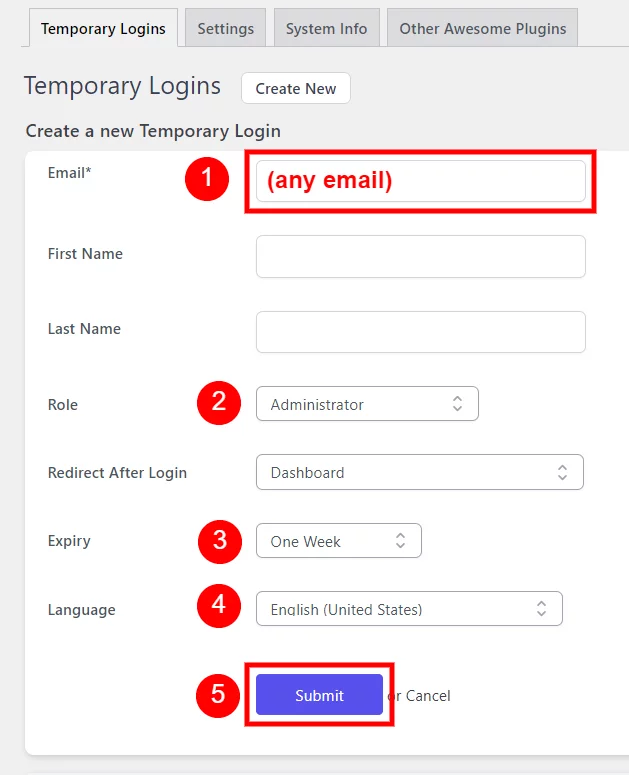
1. Email
The email address is the only required field, since this is always required to make any WordPress user account. You can use any email address, such as yours or a temporary one. No emails will be sent to this address, it is only used to create the temporary user.
2. Role
Please keep this set to Administrator so that we can have access to our plugin files and any error logs while troubleshooting the issue.
3. Expiry
The default One Week is the best option here. Even though we often solve issues very quickly, the time required depends on many factors such as the day of the week, our current support backlog, or the complexity of the issue. If the expiry is too short, and we try to log in after it expires, this can cause further delays as we go back-and-forth asking to extend it.
4. Language
Please remember to set the language to English (United States) if it is not already. This will really help us be able to troubleshoot the issue faster!
5. Submit
After completing these fields, click the “Submit” button and the temporary user will be created.
3. Copy The Login Link
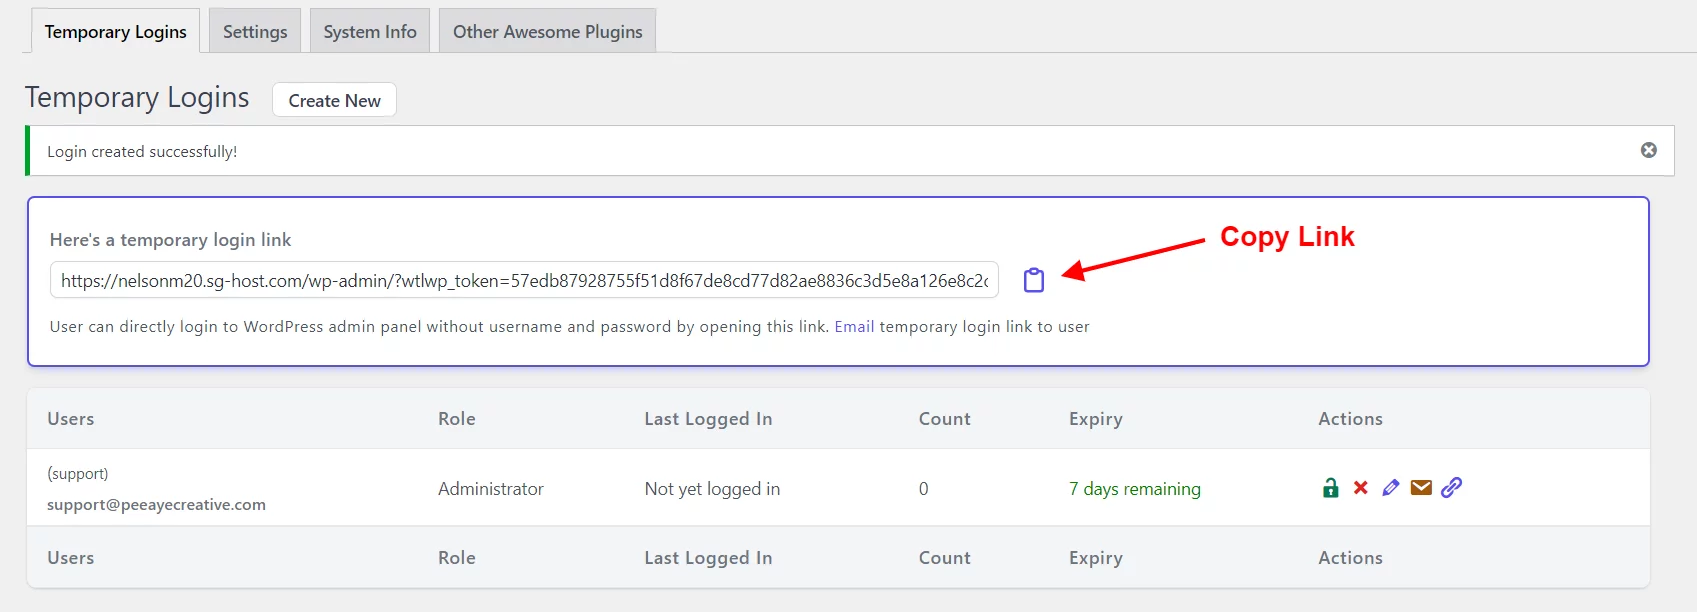
When the temporary login user account is created, a temporary login link will be generated. Click the copy icon to copy the link to your clipboard. This link is what gives our support team the ability to log in to your site very easily and securely.
4. Send Us The Login Link
The last step is to send us the temporary login link. Simply paste the link in your email message when you reply to us.
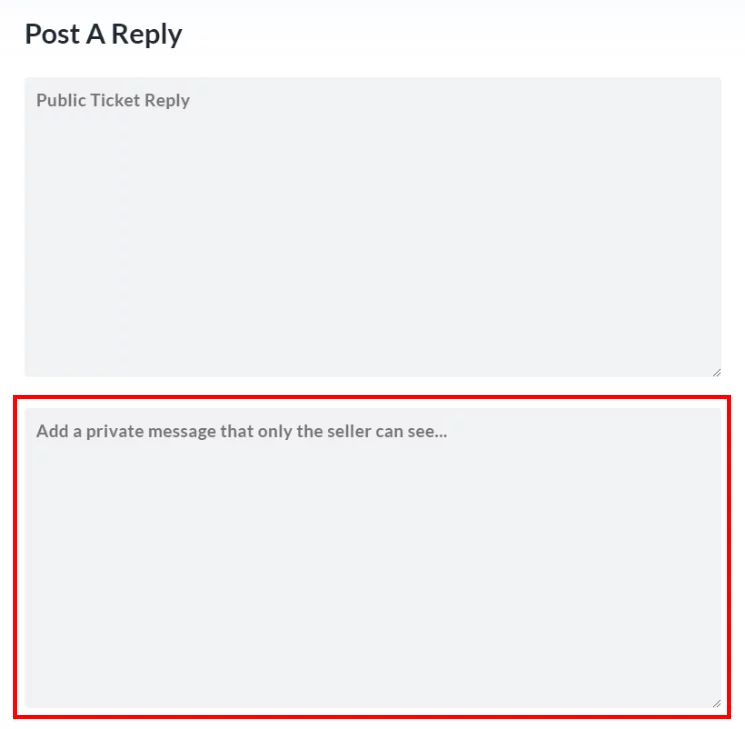
If you are using the Divi Marketplace support forum, BE CAREFUL not to share the login link publicly. Make sure to share the temporary login link in the private message section when replying to the tick.
5. Next Steps
After we receive the login link, we will access your site and investigate the issue and work hard to get everything resolved properly.
We Will Let You Know When Resolved
After the issue is resolved, we will reply to your email and let you know. You can check your site to verify everything looks good before removing the temporary user.
Delete The Temporary User When The Issue Is Solved
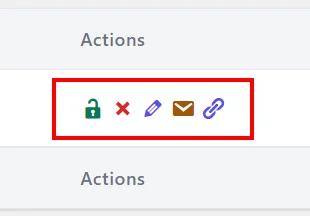
After verifying the problem with the product has been resolved, please delete our support user account. You will notice some available actions on the Temporary Logins settings screen, and you can click the red X to delete the login.
