A Simple Solution To The Divi Blog Image/Text Alignment Issue
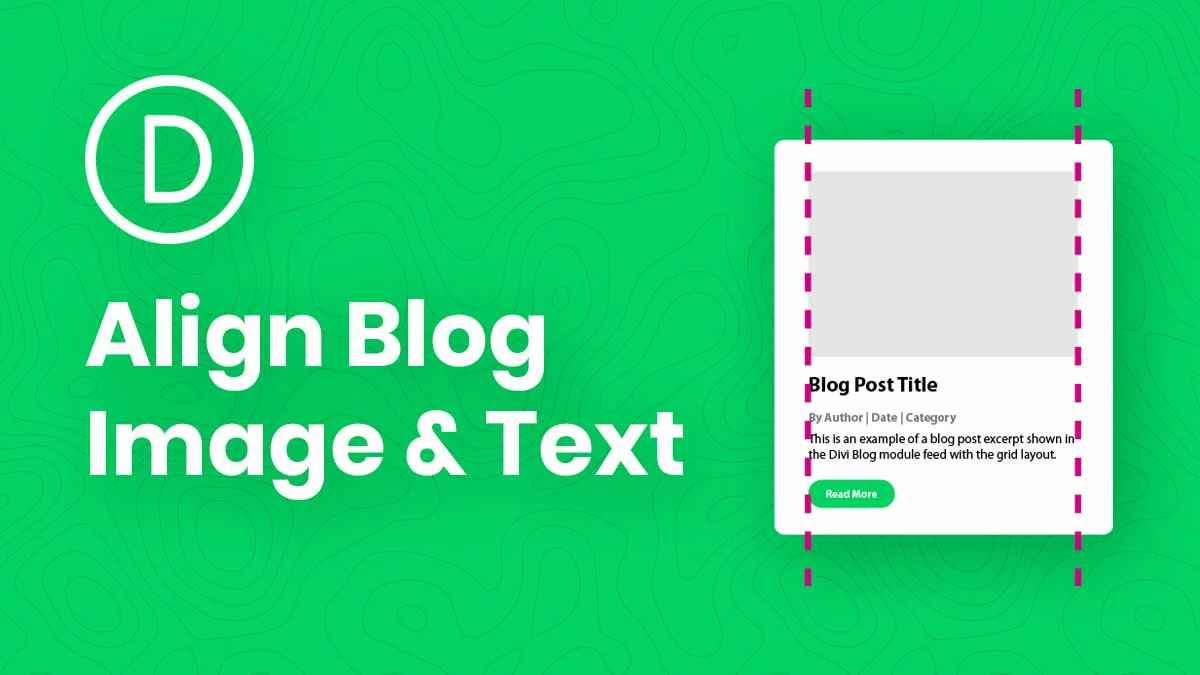
Perhaps you never even noticed this, but once you see it you won’t be able to unsee it. The Divi Blog module image and text including the Title, meta, excerpt, and button, do not line up! How strange, right? The image actually has negative margins on it. If you inspect the code you will see -19px margin.
I don’t know why the do this by default, but I do want to share the simple solution to it! We already have a lot of Divi Blog module tutorials, but be prepared for a lot more coming soon! This tutorial will show you how to align the Divi Blog module featured image and text with a simple snippet of CSS! Enjoy!
How To Remove The Negative Margin On The Divi Blog Feed Image
As I mentioned in the intro, Divi has some odd -19px of margin around the Blog module featured image. This is actually applied to an outer “container” of the image. There are two ways we could reverse that. We could simply add 19px of margin back in to the image itself, but that seems weird to have -19px applied and then add 19px to offset it. Instead, I’m going to just give you the code to set the margin to 0px on the container.
If you are using our free Divi child theme, place this snippet into the style.css file. Otherwise, place this in your Divi>Theme Options>Custom CSS code box. If you need help, check out our complete guide on Where To Add Custom Code In Divi.
/*remove negative margins from blog featured image*/

.et_pb_image_container {
	margin: 0px;
}
Be sure to watch the video to see this all in action and to see how simple this solution is! You could also check out our main blog feed to see that our images are aligned with the text as well.
Keep in mind that if you only want this to apply to specific Blog modules, you would need to add a custom class in the module and before the selector.
Now that you have removed the margin around the image, you may want to go to the next solution below as an optional continuation of this.
How To Add Spacing Around Each Post In The Divi Blog Feed
Now that you have the Divi blog image aligned with the title and text, you may want to go a step further. This next snippet is totally optional but would make good sense if you have a background color set for the indivual posts. Now that the image and text are aligned, they would both be flush with the edges of the post, so this spacing makes it all look great.
/*add spacing around the individual blog posts*/

.et_pb_blog_grid .et_pb_post {
	padding: 30px;
}
That’s it for this one, but we have a lot of new and exciting Divi Blog module tutorials planned! Let me know in the comments if you enjoyed this!


thank you again, Sir
Question can you share the CSS extension for chrome looks very cool I couldn’t find it thank you
Hi Nissim,
Sure yes here is the link: https://chrome.google.com/webstore/detail/user-css/okpjlejfhacmgjkmknjhadmkdbcldfcb
Very handy when testing CSS on sites especially since you can refresh the page and it saves it while developing the code.
Thanks !! I can’t see the css in this and others post – could You help how i can see ir?! Thanks. Bescuse your content are awesome
It should be there now. I am not sure what is happening but my code keeps disappearing.
Pefect now it’s ok !!
Great! 🙂
Hi Nelson, thanks so much for all the tutorials and super helpful explanations! 🙂 I’ve used your code a lot throughout the years and learned even more. I’ve implemented this code as you described but nothing changes on my page. Do you have any idea what the reason could be? The page where I’ve implemented this isn’t published yet but I’ve used other code from your website on this page and those snippets work…Thanks a lot!
Hey Marie,
It would be great if you publish the page provide us the URL for us to investigate further as the code is working on my end.
I inserted the code and I managed to align the text with the image but the read more button is not aligned
Hi Sofie!
Can you please share the URL of the page to investigate further?