Change The Audio Module Layout
If you are displaying audio such as podcast episodes or other audio on your Divi website, you may be sad about the lack of layout options in the Audio module. It was tricky to achieve, but very simple once we realized how to do it. In this tutorial I will show you how to move the Divi Audio module image from the left side to the top and show you why this is helpful.
▶️ Please watch the video above to get all the exciting details! 👆
Exploring The Image Layout Options
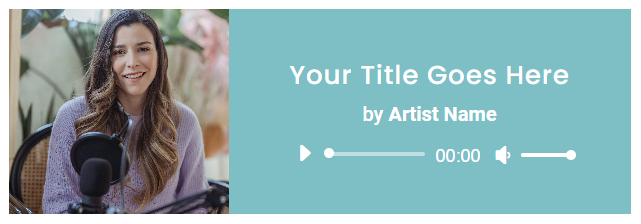
By default with a wide column, the image displays on the left side. There is no setting or option to change it.
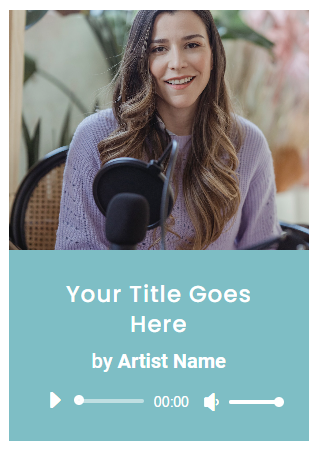
By default in a narrow column, the image displays on the top, and there is no setting or option to change it.
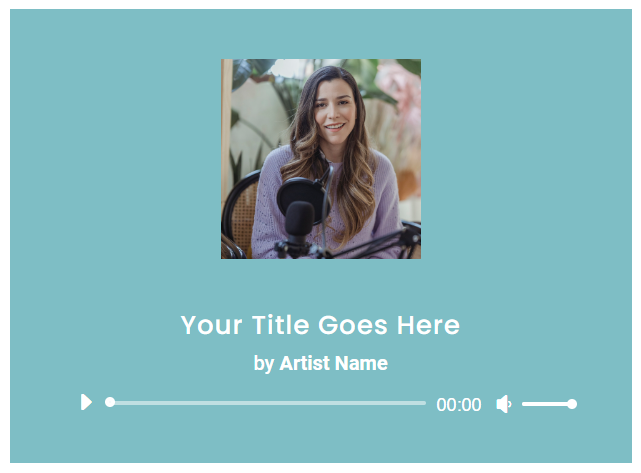
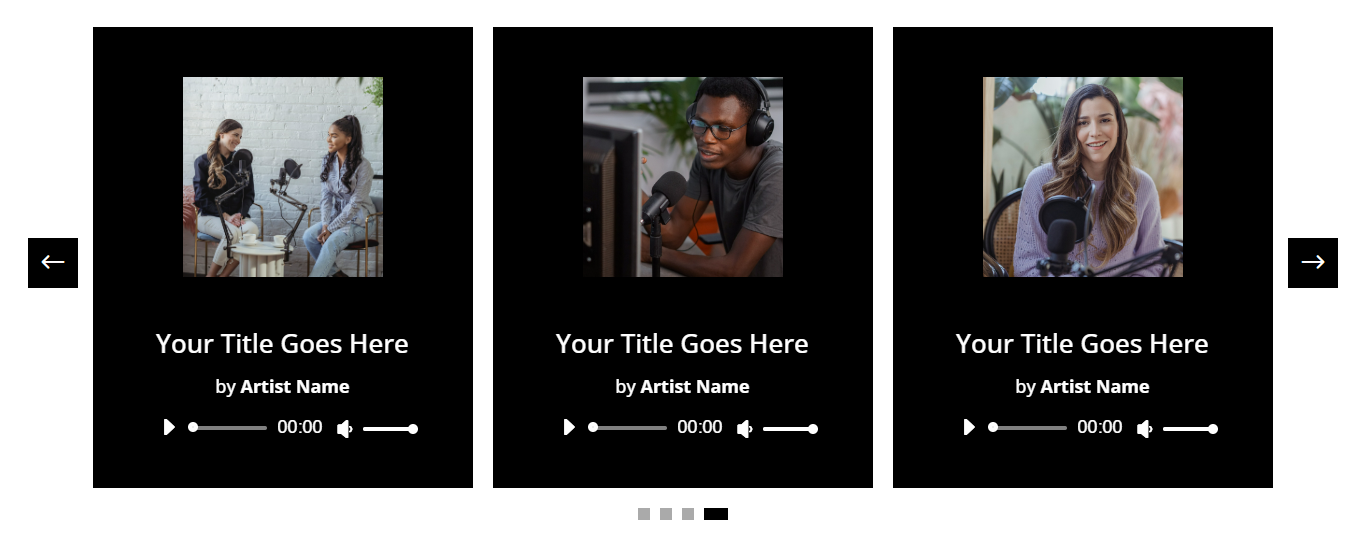
The goal of this tutorial is to modify the image position to the top even if the column is wide. Here is the final result you will achieve:
What Inspired This Tutorial
A customer using our Divi Carousel Maker plugin wanted to show Divi Audio modules in the carousel as slides. At first, I didn’t understand the issue, but then I realized Divi was placing the image on the left even though there were 3 slides showing – it wasn’t changing to the top orientation due to the carousel modules are added to a fullwidth row. So I began to explore how to solve it, and came up with this tutorial.
Here you can see the issue before using the tutorial:
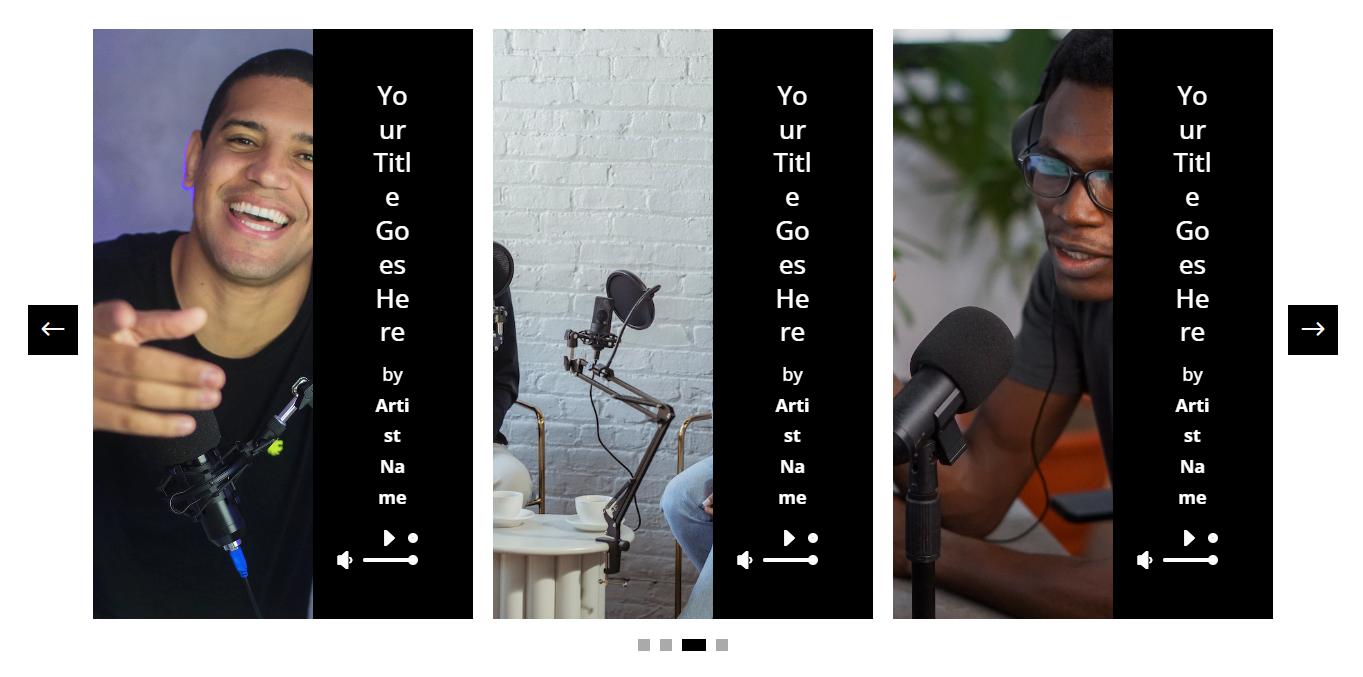
Here you can see how great it looks after using the tutorial:
1. Add A Custom CSS Class To The Menu
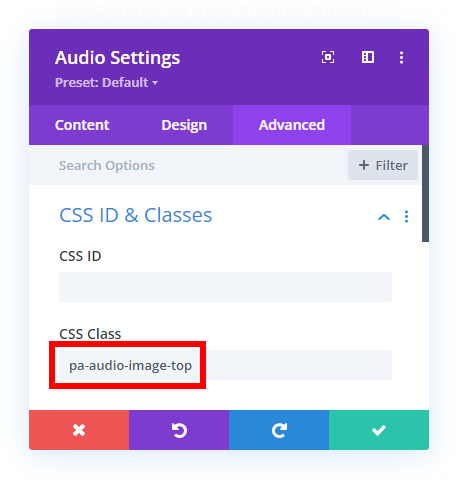
The first step is to add a custom CSS class to the Audio module. We are doing this so that our code only affects this specific Audio module on your site. Open the Divi Audio module settings and go to the Advanced tab. Go to the CSS IDs & Classes toggle. Place the class “pa-audio-image-top” in the CSS Class input field.
2. Add The Custom CSS Code
The next step is to add CSS code which will move the image, make some adjustments, and remove the space on the left. By changing the Image width, adding a height, and setting the position to relative, it will effectively move the image from the left side to the top above the audio title. After the image is moved, the content area needs adjusted by setting the left margin back to zero in order to fill in the space where the image was located.
Where To Paste The CSS Code
1. Divi Assistant
If you are using our Divi Assistant plugin, simply paste the code in the CSS tab in the custom code window in the Divi Visual Builder.
2. Child Theme
If you are using a child theme, paste this code into the style.css file. If you don't have a child theme, you can generate a child theme directly on your site or download our free child theme.
3. Divi Theme Options Integration
Otherwise, paste this code in your Divi>Theme Options>Custom CSS code box.
If you need help understanding where to paste the code, please check out our complete guide about where to add custom code In Divi.
/*adjust the image position and size*/
.pa-audio-image-top .et_pb_audio_cover_art {
	width: 100%;
	height: 200px;
	position: relative;
	background-size: contain;
}

/*remove the space on the left after moving the image*/
.pa-audio-image-top .et_pb_audio_module_content {
	margin-left: 0;
}

/*add some padding to the top*/
.pa-audio-image-top {
	padding-top: 50px;
}
There are several customization options for you to choose. You can remove the background-size: contain; if you want, which will reset the image to a cover size. You can also adjust the height value to whatever you value you prefer. You can also remove or adjust the padding on the top which shows above the image.
FYI: This would go perfectly with our Divi Dynamic Helper plugin to use the Divi Audio module with a custom field. Take a look!



0 Comments