The Complete Guide
Sometimes as WordPress users, we get lazy. A simple click of a button and that pesky update notification goes away. But updates are super critical, and they can cause major problems if handled carelessly. In this tutorial, I am going to explain how to properly update Divi by listing the most important steps to take. These steps form a complete guide that will ensure your live site is working well after the update and give you peace of mind.
1. Make Sure Auto Updates Are Off
I cringe when I see people complaining that a Divi update broke their site because of an auto update. This is very unfortunate, and can be avoided. This may feel like an odd first step, but this is a great reminder to treat updates with high importance. Using auto updates is the perfect example of carelessness, and this poses a high risk of things breaking on your site without your knowledge.
Actually, auto updates are not enabled by default in WordPress and Divi. This is controlled by some hosting providers that build automatic updates into their system, and many users are unaware of this. As our first step in updating Divi, please check your sites now and see if auto-updates are enabled, and if so, follow our tutorial on How To Disable Divi Auto-Updates to permanently disable or hide the entire auto-update option for the Divi Theme.
NOTE: This step is not necessary to take each time you update, but more of a step to take once per site. After that, you can continue with step 2 each time you update Divi.
2. View The Changelog
Before click on the update button, it is very important to first view the Divi changelog. A change is a list of new features, settings, and bug fixes that are included each time a new update is released. I think this is probably skipped by most people, but I personally make a habit of checking the changelog closely every update, and I suggest making this part of your update routine as well. Not only is it good to be informed, it can also help you determine how big the update is and how much impact it will have on you.
If you are new to WordPress or are not familiar with changelogs, you may be wondering where the Divi changelog is located or how to read and understand it. I created a tutorial for you called How To Access And Understand The Divi Changelog. In explains several ways to access the Divi changelog and makes it easy for anyone to understand and read it like professionals. Best of all, if it feels technical and confusing, you can relax because we have created a unique free bonus simplified version that you should definitely check out!
3. Create A Backup
Before updating to a new version of Divi, it is wise to create a backup of your site. If you are using a reputable, good hosting provider, then most likely you already have regular daily backups for at least 14 or 30 days. Otherwise, you can create an on-demand backup just before you are ready to update Divi. This important step seems to be overlooked or ignored by many until it is too late. Don’t let this happen to you! Everyone should know the importance of a website backup and know how to use one to restore a site if something bad happens.
If you are not familiar with how to create backups, please check out our other post entitled How To Create A Backup Of Your Divi Website. This guide will explain what backups are, why they are so important, when to take them, and show you how to create them. We will also explore some areas of Divi that can be backed up, giving you peace of mind and acting as insurance if anything goes wrong with your site.
4. Test The Update On A Staging Site
Updating Divi careless directly on your live website definitely contains a risk of errors, messing up the design, or breaking the site. This is why I strongly recommend using a staging website, which is an identical clone of the live website used for testing purposes. It is an isolated, private WordPress environment totally separate from the live site, which makes them great for testing Divi theme updates to make sure everything is working before updating it on the live site. Then, once you update and check and everything looks good, you can merge the changes into the live site.
As a general rule of thumb, a staging site should be used any time there is an update to Divi that changes the second number in the version. For example, if you had Divi 4.9.7 installed and then Divi released 4.10.0, a staging site should be used because the second number updated. It is much less important for the third number.
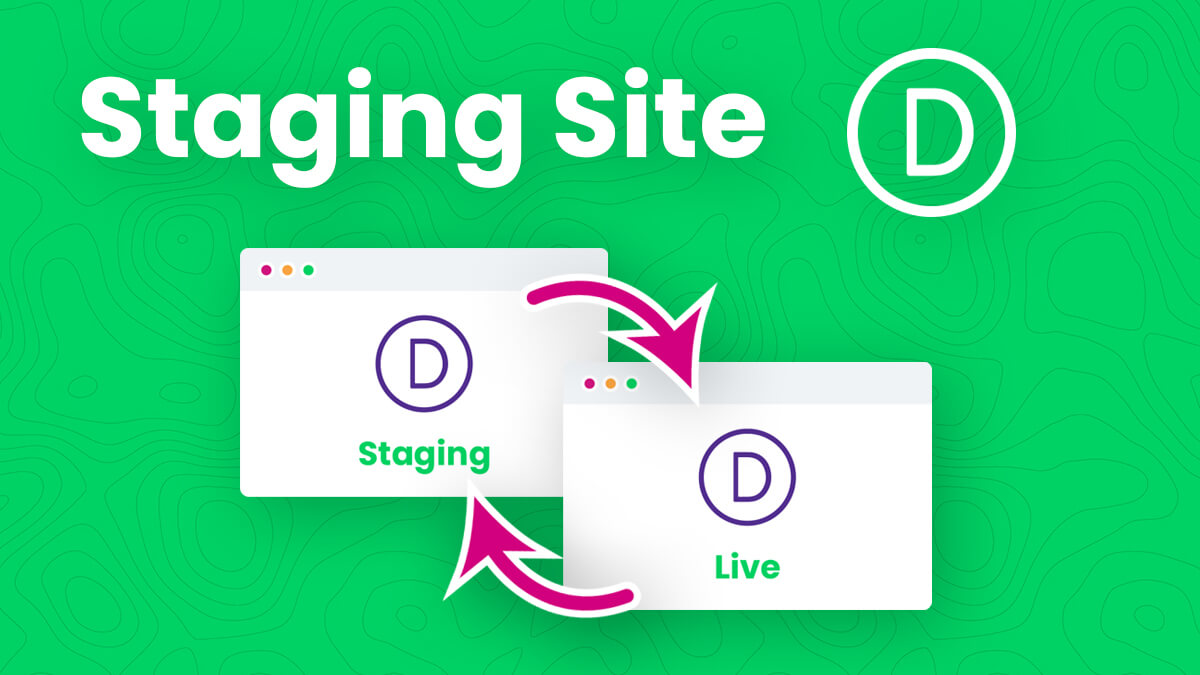
If you don’t have a staging website yet, you can check our detailed guide on How To Create And Use A Divi Staging Site.
5. Clear Your Cache
Your website uses cache to store files and resources locally in your browser to help your website load faster. Cache is a great thing, but it can also be the main culprit in all sorts of issues, big and small. This is because an older or mixed version of your site may be stored in the cache, but after you update it remains stuck. This is the #1 issue and also the #1 solution to any Divi issue.
Clearing your website cache is not my recommendation – it is a standard requirement. Any time you update Divi, you must clear your cache! There are no situations in which this step should be skipped. Never! It should be a habit for every web designer. If you don’t know much about cache and how to clear it in Divi, please check my guide on How To Clear Your Divi Website Cache.
Option: Rollback to Previous Version
It is highly unlikely that after following these steps on how to properly update Divi that you will face any issue on the live website. However, just in case you got ahead of yourself and updated too soon, or you skipped creating a backup or using a staging site, then the Divi Version Rollback feature can be used. This feature is kind of like an undo button for a Divi update. To learn when this rollback feature should be used, be sure to check out my guide on How To Roll Back Divi To The Previous Version After An Update. Just keep in mind that updates happen for a reason, and finding out why there are issues is better than avoiding them with a rollback. In the tutorial, I discuss some scenarios in which this can be helpful, and I guide you in deciding if you should roll back or not.





0 Comments