Highlight A Specific Blog Post
A lot of people ask me general questions like how I made our blog page, and so today I thought I would explain how to make a featured blog post. You could do this two different ways, depending on whether you want to highlight the latest post, or a specific post. So in this tutorial, I will show you how to display a featured blog post in Divi using the post offset feature.
▶️ Please watch the video above to get all the exciting details! 👆
Setup For Both Methods
In this tutorial, I will share two methods to showcase a featured blog post. Both of them require a similar basic setup, and then each will have a few different settings.
Start by adding two separate Divi Blog modules to your layout.
First Module (Featured Post)
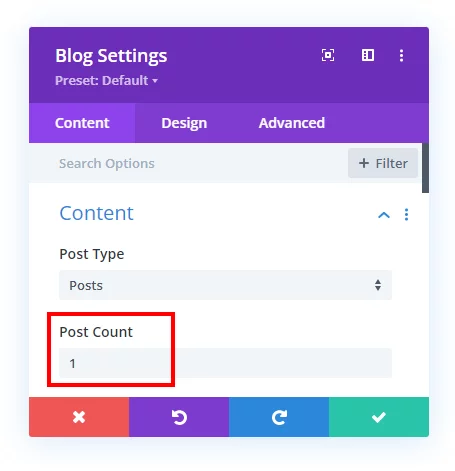
Set the first module to Fullwidth layout in the Design tab. This is needed so that the first module (for the featured post) uses the tutorial linked below. The important thing here is to set the Post Count value to 1, since we only want to show 1 blog post in this first module.
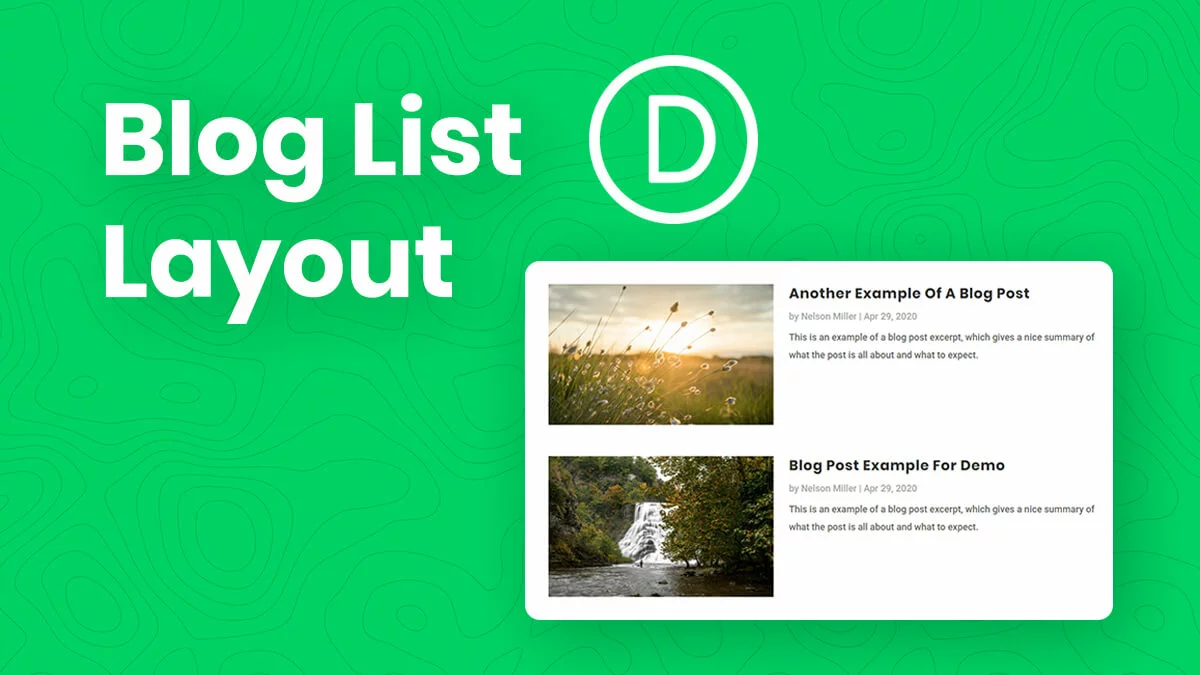
Next, you probably want to make the featured post have some kind of unique layout, and I would recommend using our other tutorial about How To Change The Divi Blog Module Into A List Layout. Follow the tutorial for the first Divi Blog module, not the second. This means you will add the “pa-blog-list” class to the first module only, so that it only affects the post you want to display as the featured post.
Second Module
Below this, add a second Divi Blog module. Set this second module to Grid layout in the Design tab. This module will show the regular posts below the featured post.
Method 1. Highlight The Latest Divi Blog Post
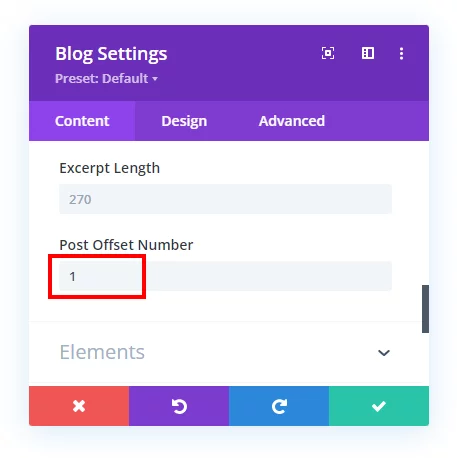
If you simply want to make your latest post pop and stand out from the others, then you can use the Post Offset feature in the Divi Blog module. This setting only applies to the second module, so be sure to open the second Divi Blog module and scroll down to the Post Offset Number. The value in this field represents the number of posts that will be skipped, so entering the number 1 means it will skip the latest post and the grid of the second module will start with the second to latest post.
That’s it, you did it! Be sure to watch the video above to see how it looks!
Method 2. Highlight A Specific Divi Blog Post
If you want to highlight a specific Divi blog post, like we do on our blog page, then you will need to use the category feature in the first module.
Add The Featured Category
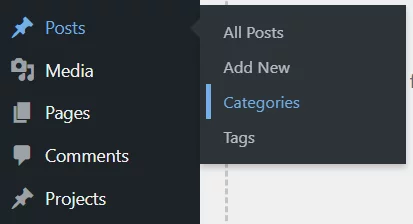
First, go to your backend to Posts>Categories and create a new category. You could call it “Featured” or a similar name.
Assign The Featured Category To The Post
The important step now is to assign this category to your featured blog post. Go to your existing blog post that you want to feature and open the backend editor. On the side, add the Featured category to this post, and update the post.
Select The Featured Category In The Blog Module
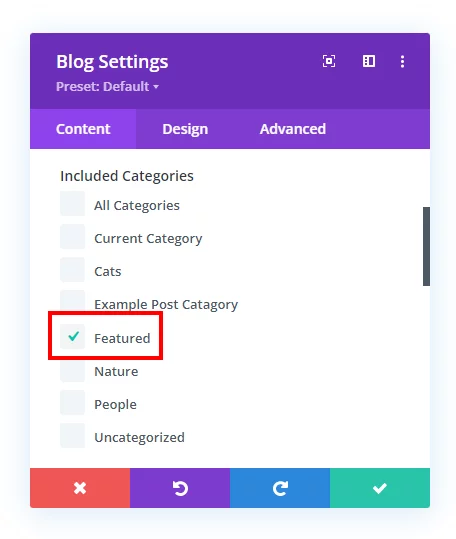
Now, in the first module only, select the featured category with the checkbox settings in the Included Categories section. This means that only the one single blog post that is assigned to this category will be displayed in this first module.
You did it! Be sure to watch the video above to see all of this in action with a real example.




i dont get it.
I don’t get it.
Love your teaching videos. I am brand new at wordpress and Divi. You mentioned css code for the featured blog posts page. Can you help me to located the different css codes please?
I’m not quite sure exactly what you are asking here, as the question is pretty open-ended. You can take any CSS course to learn the basics of finding the selectors if that is what you mean.