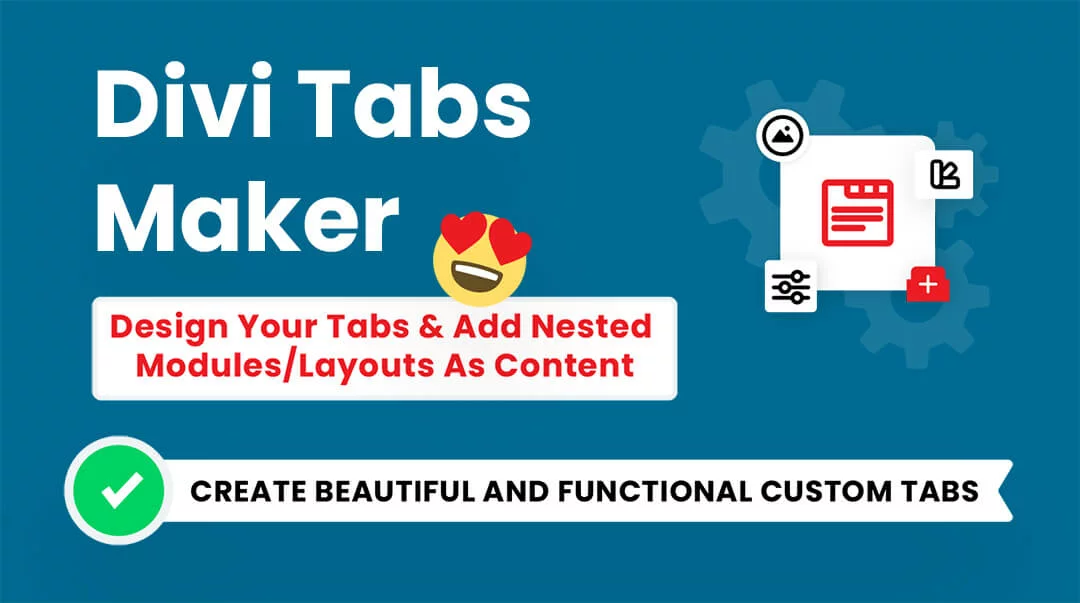

Overview
One of the great features of the Divi Tabs Maker plugin is the ability to use any Divi Builder layout, section, row, or module inside the individual tabs. We created a special feature to allow you to add Divi Library layouts to the tab content using the dynamic content feature. In this guide, we will walk you through the steps to achieve this.
1. Create Your Tab Layout
First, you need to design the section, row, or module that you want to use as the tab content in the Divi Builder. For this, you can open any random page or draft page on your site and use the familiar Divi Visual Builder. The most common use cases for this are to use a section or a row. We are using a Row as our example in this guide, but you can also use a module or section.
- Add a row in the Visual Builder.
- Choose the number of columns you need
- Set the row width to 100%
- Add modules as needed
You can adjust the design however you want, just like normal. Just remember, the row will be used inside an individual tab, so you can design accordingly to how you want the tab content are to appear.
One important thing to note, you will need to remember that Divi has a default row width of 80%, so you need to go to your row settings>Design tab>Sizing toggle and set the width to 100%. Otherwise, when it is loaded into the tab in step #3, it will appear 80% as wide as the tab area with 10% space on each side.

If you prefer, you can actually just build the layout in the Divi Library directly, and skip step #2.
2. Save The Layout To The Divi Library
When you are satisfied with the design of your row, the next step is to save it to the Divi Library. To do this, find the down icon on the green row and click it.

This brings up the window to configure the details for the layout. Give the layout a memorable, descriptive name. This is the name you will choose in step #3 when adding the layout into the tab.

3. Add The Layout To The Tab Content
Now you are ready to add the row you created into one of the tabs. Go to your page with the Divi Tabs Maker module. Open the setting and either add a new tab or edit an exiting individual tab.

Inside the individual tab, scroll down and open the “Content” toggle.

In the text area, hover over the gray dynamic content icon in the top-right corner. This is the dynamic content feature in Divi, but we have modified it to be able to load layouts from the Divi Library!
In the popup window, scroll down until you see the “Divi Library” heading and select the name of the row you just saved to the Divi Library in step #2.
If you build and saved the row from the same page as the Divi Tabs Maker module, you will need to save and refresh the page first for the row to appear in the list.

You did it! Now you should see the preview of the row appear in the tab. You can save your changes and exit the builder to see it on the frontend.