
Overview
Welcome to the documentation area and getting started guide for the Divi Assistant plugin! On this page, you will find all the steps you need to set up and use our plugin. Each step provides a summary of information related to that step in the process. You will also notice links to separate documentation guides in the steps below. Please be sure to follow all of these steps and access the additional resources as needed.Overview Video
This video provides an introduction to the plugin and all of the settings.
1. Install Divi
Our Divi Assistant plugin is a 3rd party addon for the Divi Theme by Elegant Themes, so having Divi installed and active is a prerequisite for installing and using our product.Disclosure: The link to Elegant Themes is an "affiliate link" which means if you click on the link and purchase anything, we will receive a commission.
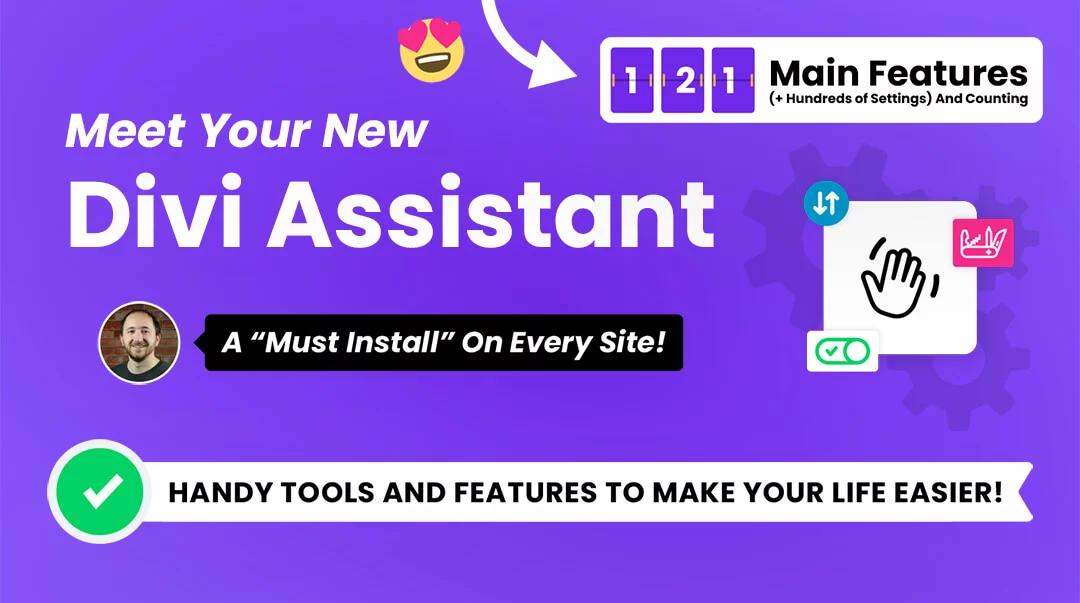
2. Login And Download Divi Assistant
After completing the purchase, log into your account from the top right corner of the website. You can access your downloads by clicking on the "Orders" tab and then the "View Order" button, or by clicking on the "Downloads" tab. Click on the plugin name to download the plugin and save the file to your computer.
Divi Marketplace Customers: If you purchased this plugin from the Divi Marketplace, you can download the product from your Elegant Themes members area.
3. Install The Plugin
Now that you have Divi installed, and the plugin downloaded, you are ready to install the Divi Assistant plugin. Installing our plugin works the same as installing any other WordPress plugin. From your WordPress Dashboard, go to Appearance>Plugins>Add New and click on Upload Plugin. Locate the plugin .zip file on your computer, which selects the file to up, and click Install Now. Once the file upload is finished, you can click on Activate.NOTE: Installing or updating this plugin may require you to clear your cache before the settings take place. This may include your browser cache, any caching plugin, and possibly even your CDN if you are using one.
4. Add Your License Key
After installing and activating the plugin, the next step is to add the plugin license key. This allows your site to communicate with our servers to ensure that you get automatic updates and support.
Single Product Customers: You can find your license keys by going to the "Subscription" tab in your account and clicking the "View Subscription" button. On the next screen, click the "License Keys" button.
Membership Customers: The license keys are at a different location for Divi Adventure Club members. You can find your license keys by going to the "Order" tab in your account and clicking the "parent" order (the first one when you purchased the membership). Click on the "License Keys" button on the parent order.
For both single product or membership customers, this will bring you to the page where you can view, copy, add, deactivate, and delete license keys. Please check our full license key guide for more information.
Divi Marketplace Customers: If you purchased From Divi Marketplace, then there is no license key to add. Updates and support for the plugin are validated using your Elegant Themes account, so just take a moment to be sure you have the proper Username and API key credentials added in the Divi> Theme Options> Updates tab in your website. Note that there is no additional license key to enter for this product, it is handled entirely by your Elegant Themes account credentials. You can refer to the Divi Marketplace Customer FAQs for more information.
5. Explore The Plugin Settings
At this point, you are ready to start using the plugin features. A new “Divi Assistant” menu item will appear in the WordPress menu on the left side of the admin area. Each of the settings have convenient descriptions built into the interface to explain what it does and how to use it, so this is the best way to get familiar with all the plugin features.
You can also get familiar with our plugin by reviewing the product page to get an overview of all the custom settings.
Plugin Updates
Any time we push out an update with new features, improvements, and bug fixes, all customers with an active license will see a notification in your WordPress dashboard. The update process is exactly the same for our plugins as it is for any other WordPress plugin. Learn more about product updates in our documentation. There are some important steps to take, including making a backup, testing on a staging site, and clearing your cache.
Blog Posts/Videos
Every time we release a major new update, we also create a written post and video highlighting all the new features. Be sure to keep an eye on our blog for all the exciting updates! You can check out the past updates on our blog as well.
Other Resources
This main page of our product documentation and the additional links provide everything you need to know to get started. But don’t forget to take advantage of our other resources as well. Take a moment to browse and reference all the documentation links such as the frequently asked questions, the product changelog, known issues, troubleshooting steps, and the roadmap. We want you to be able to easily find everything you could need, so we spend a lot of time continually updating everything for your convenience.