Change The Testimonial Module Layout
If you are displaying testimonials on your Divi website, you may be sad about the lack of layout options in the Divi Testimonial module. It was tricky to achieve, but very simple once we realized how to do it. In this tutorial I will show yo how to move the Divi Testimonial module profile image from the left side to the top.
▶️ Please watch the video above to get all the exciting details! 👆
Exploring The Image Layout Options
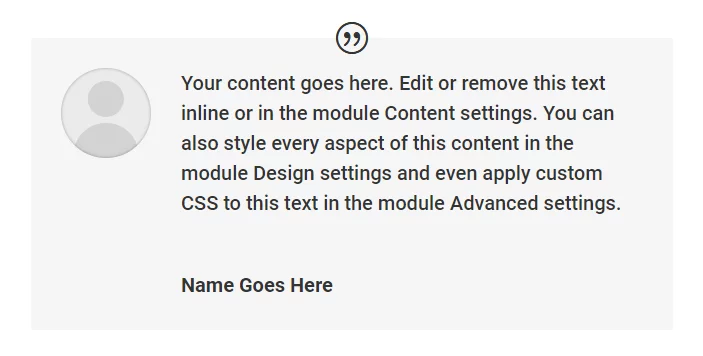
By default with a wide column, the image displays on the left side. There is no setting or option to change it.
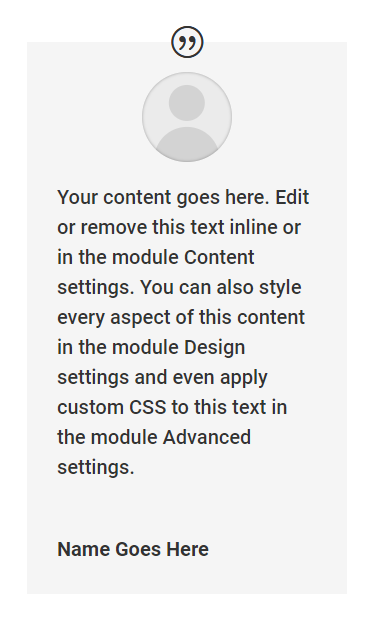
By default in a narrow column, the image displays on the top, and there is no setting or option to change it.
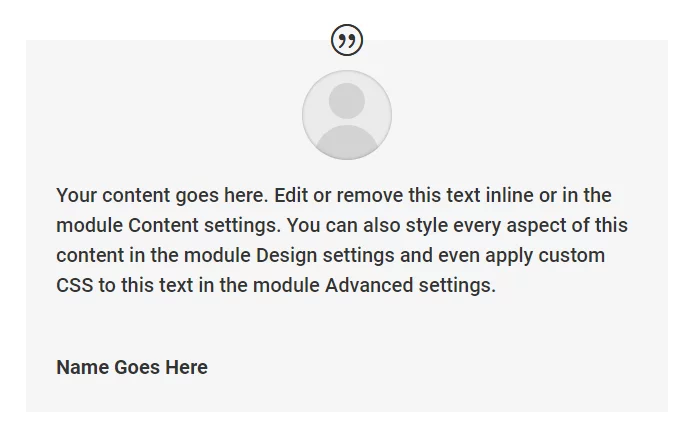
The goal of this tutorial is to modify the image position to the top even if the column is wide. Here is the final result you will achieve:
What Inspired This Tutorial
We created this tutorial because there is no setting in the default Divi Testimonial module to change the profile image position from the left of the content to on top of the content. We first noticed this when a customer using our Divi Carousel Maker plugin asked us how to change the image position. There are also times you may want to show the image on top when it is not used in a narrow column or on a smaller device, so this is what inspired the tutorial and why we created it.
MAIN USER CASE: This tutorial was created with customers of our Divi Carousel Maker plugin in mind to use testimonial modules as slides in a carousel with three modules showing at once with the image on top.
1. Add A Custom CSS Class To The Menu
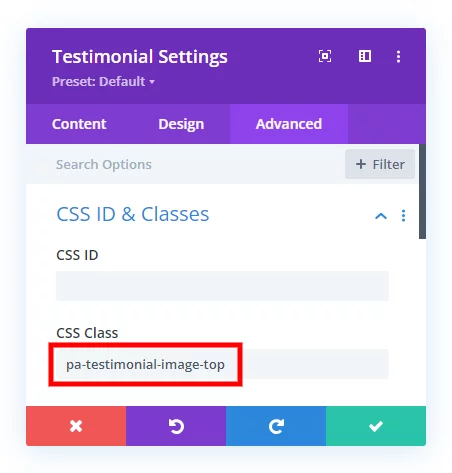
The first step is to add a custom CSS class to the Testimonial module. We are doing this so that our code only affects this specific Testimonial module on your site. Open the Divi Audio module settings and go to the Advanced tab. Go to the CSS IDs & Classes toggle. Place the class “pa-testimonial-image-top” in the CSS Class input field.
2. Add The Custom CSS Code
The next step is to add CSS code which will move the image. This is a pretty straightforward snippet of code that is simply making the same CSS properties apply on larger screens that already normally apply on smaller screens (or narrow columns). So we are just taking the code from the small screen layout and applying it to the large screen layout to affect where the Divi Testimonial image is located.
Where To Paste The CSS Code
1. Divi Assistant
If you are using our Divi Assistant plugin, simply paste the code in the CSS tab in the custom code window in the Divi Visual Builder.
2. Child Theme
If you are using a child theme, paste this code into the style.css file. If you don't have a child theme, you can generate a child theme directly on your site or download our free child theme.
3. Divi Theme Options Integration
Otherwise, paste this code in your Divi>Theme Options>Custom CSS code box.
If you need help understanding where to paste the code, please check out our complete guide about where to add custom code In Divi.
/*move the image position to the top*/
.pa-testimonial-image-top .et_pb_testimonial_portrait {
	float: none;
	display: block;
	margin: 0 auto 20px;
}

/*remove the margin to the left of the text*/
.pa-testimonial-image-top .et_pb_testimonial_description {
	margin-left: 0px !important;
}
If you want to move the image to top-left, simply change the margin to margin: 0 0 20px; which instead of auto for left and right which will center it, it will be like saying left = 0 and move it to the left.




Great tutorial as always !
Once it was on top, I wanted to make the image full-size, because it is cropped by default on this module.
So I added this class “testimonial-image-dont-crop” in the Testimonial module and this code in my CSS :
.testimonial-image-dont-crop .et_pb_testimonial_portrait {
background-size: contain;
}
After that you can also adjust the image size directly in the Testimonial module.
Great, thanks for sharing the solution.