Divi Staging Sites With InstaWP
Staging sites are an essential part of be development, maintenance, and troubleshooting. Since they are so vital, I am thrilled to let you all know about the awesome tool I am using called InstaWP. It couldn’t be easier to use, even if you are totally new to WordPress or Divi or staging sites. (By the way, if you are new to all of this, I recommend checking our overview guide on Divi staging sites first.) In this tutorial, I will show you how to easily create a staging website and sync it with your live Divi website using InstaWP Connect.
Fun Fact: When I created our flagship plugin Divi Assistant, I knew users would want to explore the settings and features for themselves. I was so happy when I found InstaWP, which is perfect for setting up a temporary sandbox site for product demos. This allows you to instantly create your own WordPress installation with Divi and Divi Assistant already installed.
▶️ Please watch the video above to get all the exciting details! 👆
Create Divi Staging Site With InstaWP
Install InstaWP Connect
The first step is to install the free InstaWP Connect – 1-click WP Staging & Migration plugin from the WordPress plugin directory.
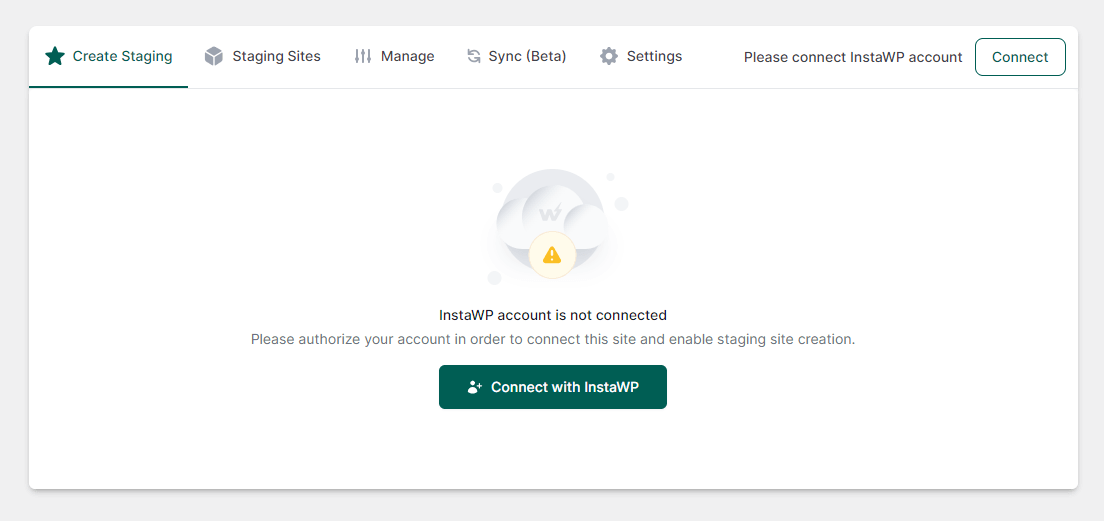
Connect Your InstaWP Account
You will need to create an InstaWP account to use this, which is totally expected and easy to do. For just regular staging, they have a free plan with 3 sites.
However, to do the syncing between the live site and staging site, you will need to choose a paid plan that works best for your needs. For something as crazy as what I’m about to show, you will see why a paid plan is needed.
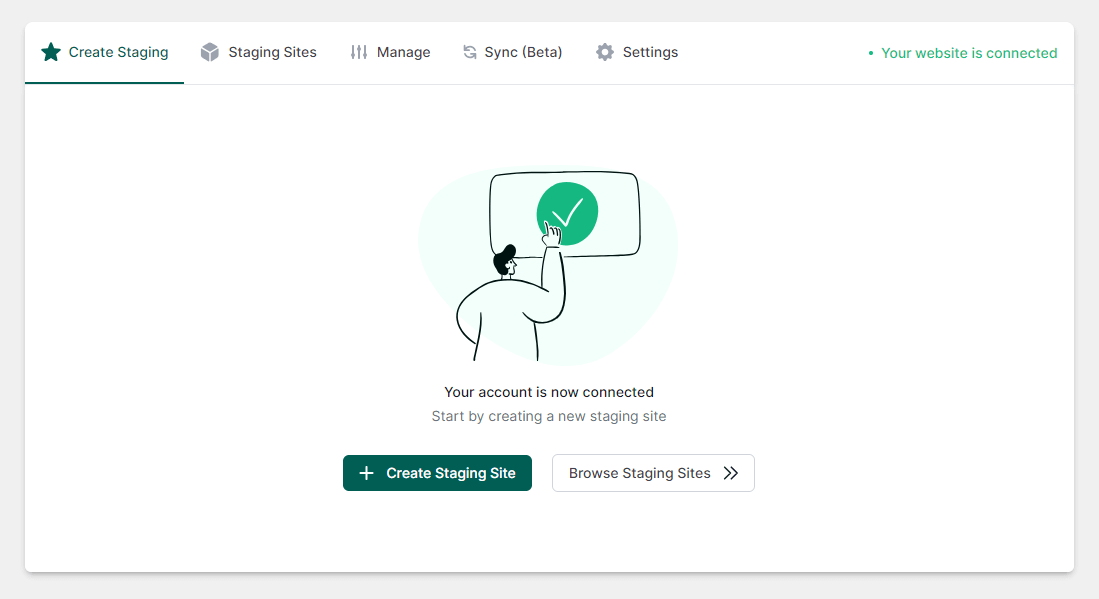
Create Staging Site
After connecting the website with InstaWP, you can proceed with creating the staging site. Click the green “Create Staging Site” button to continue.
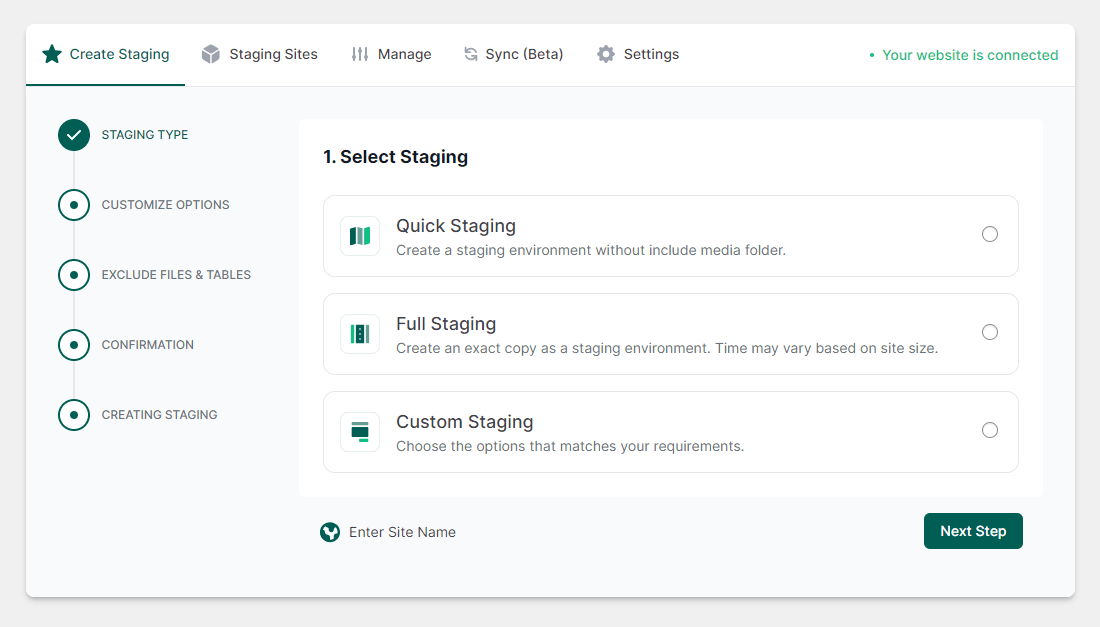
Select Staging Type
A multistep form will appear with a simple interface for you to configure your staging site. The first step is to choose which type of staging site to create. You can choose a quick staging site without the media folder, a full staging site with everything, or a custom staging site where you choose specific options.
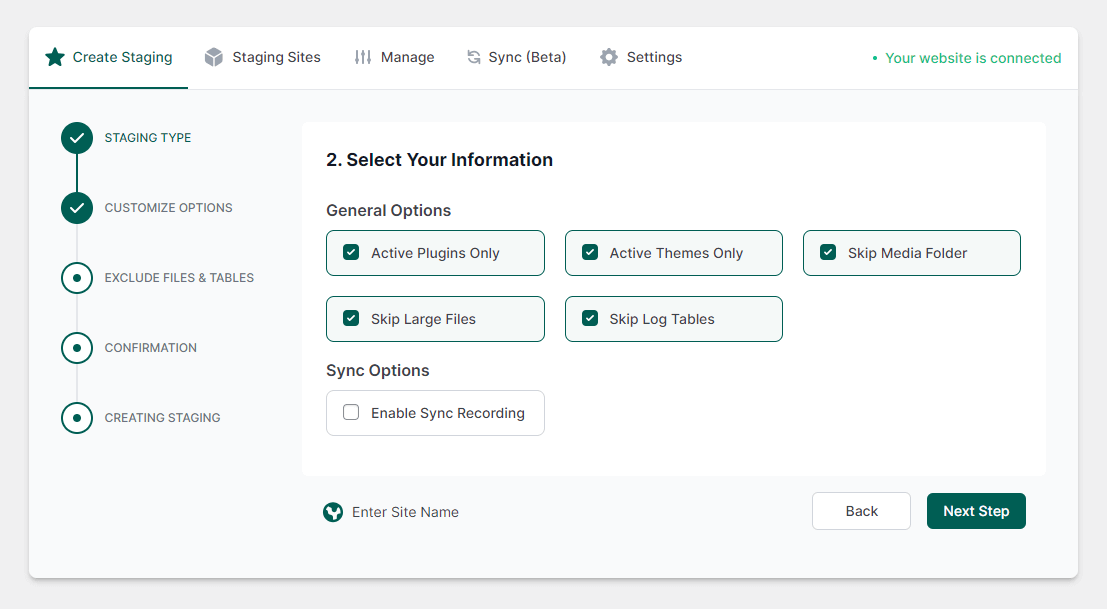
Customize Staging Site Options
Next, select the options for your staging site.
NOTE: Be sure to select the “Enable Sync Recording” option.
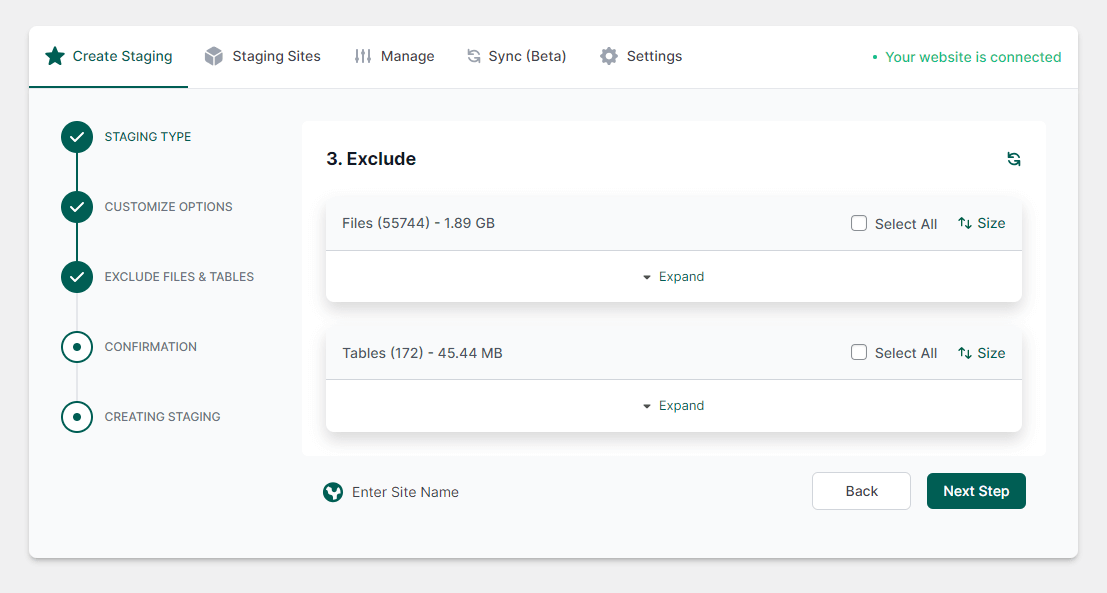
Exclude Files And Tables
If you want to exclude specific files or tables, you can expand the list and select or deselect whatever you want, and continue to the next step.
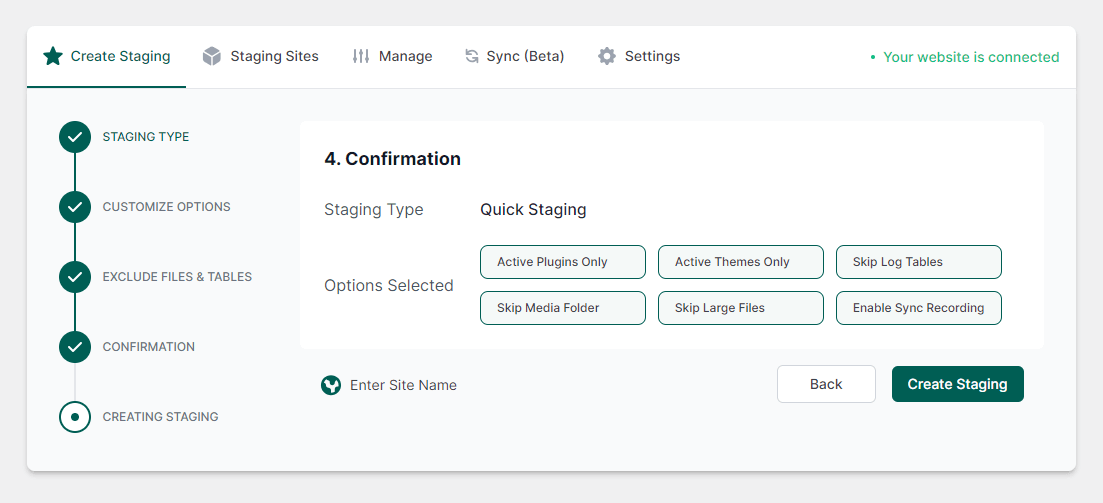
Confirm Staging Site Options
The confirmation step lists the items you have selected so far. After reviewing the options, you can click the “Create Staging” button to continue.
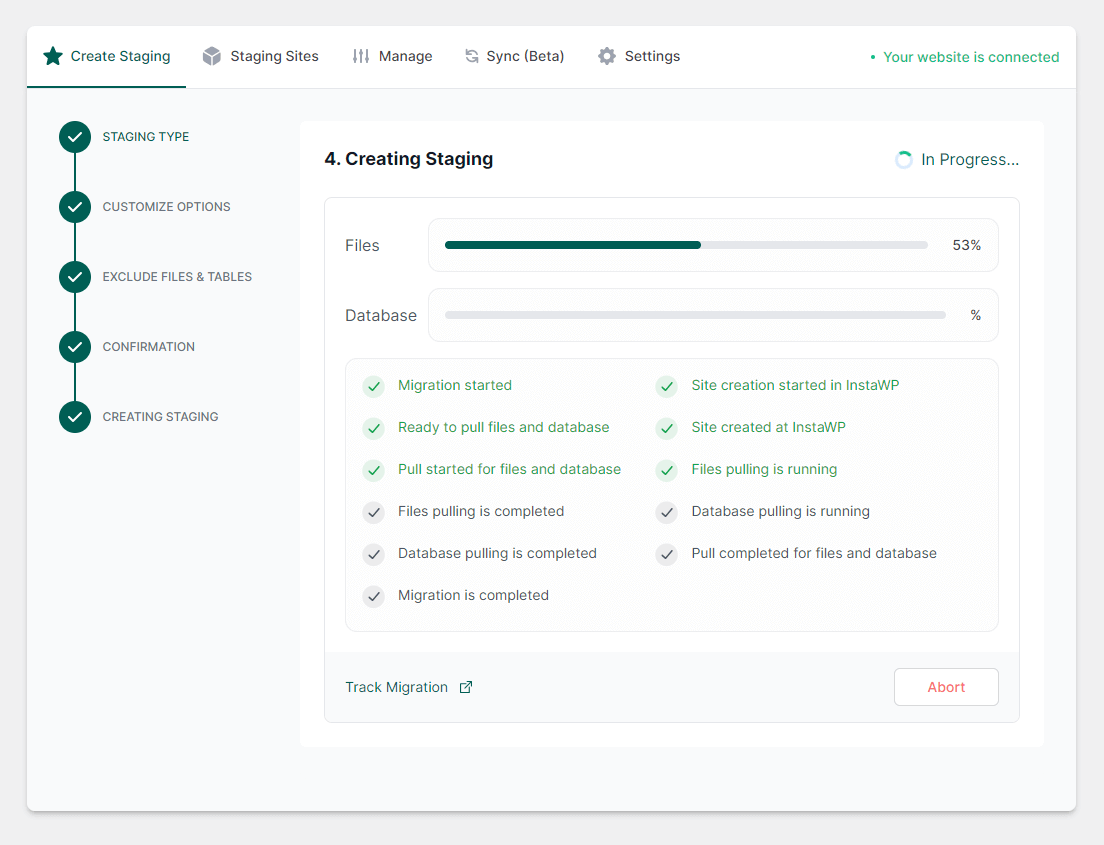
Creating Staging Progress
The creation process will begin, and the system will copy the live site to a new staging site. The amount of time this takes will depend on the size of the site.
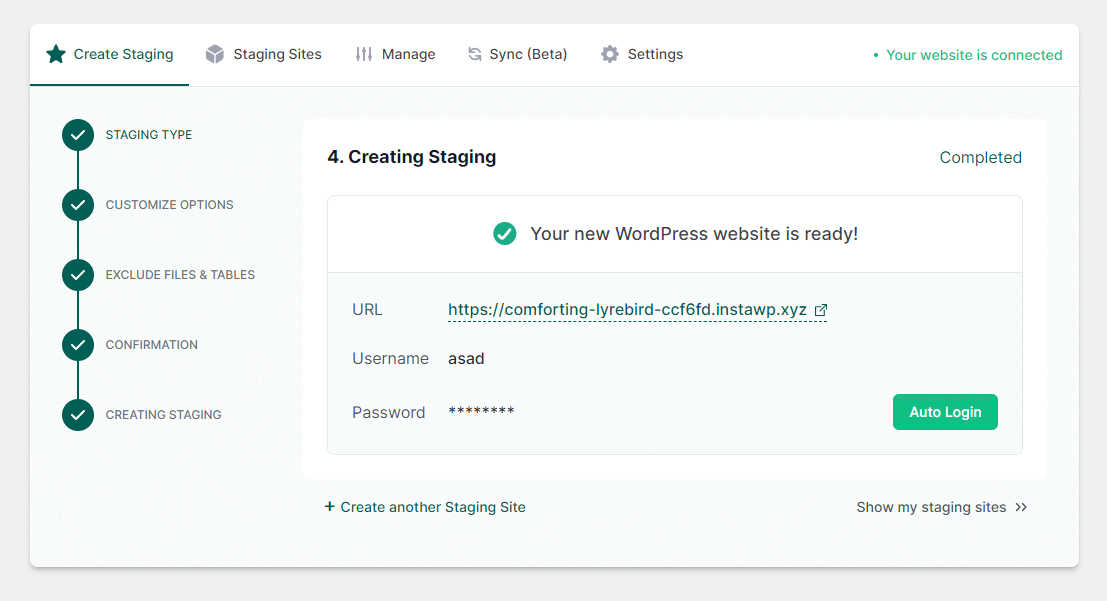
Auto Login To Staging Site
When the process is completed, you will be presented with a message that the new WordPress website is ready. You can see the URL to the site along with the username and password. The best part is the green “Auto Login” button, which will automatically open and log you into the staging site in a new tab.
You will see a screen like this for a few seconds when redirecting to the staging site.
View Staging Sites
Back in the live site, you can click the “Staging Sites” tab to see the staging site you created.

If all you wanted to do was create a staging site and use it like normal, you can end the tutorial here. But if you want to see something really cool, keep going with the next section!
Sync Changes From Live Divi Site To InstaWP Staging Site
One of the new features of InstaWP is their “Sync” option. Currently, at the time of this tutorial, it is still in Beta, so there could be some bugs and improvements needed, but it should be quite stable.
IMPORTANT: You need to make sure you have the “Listening For Changes” option enabled on the staging site. By default, this will not be enabled.
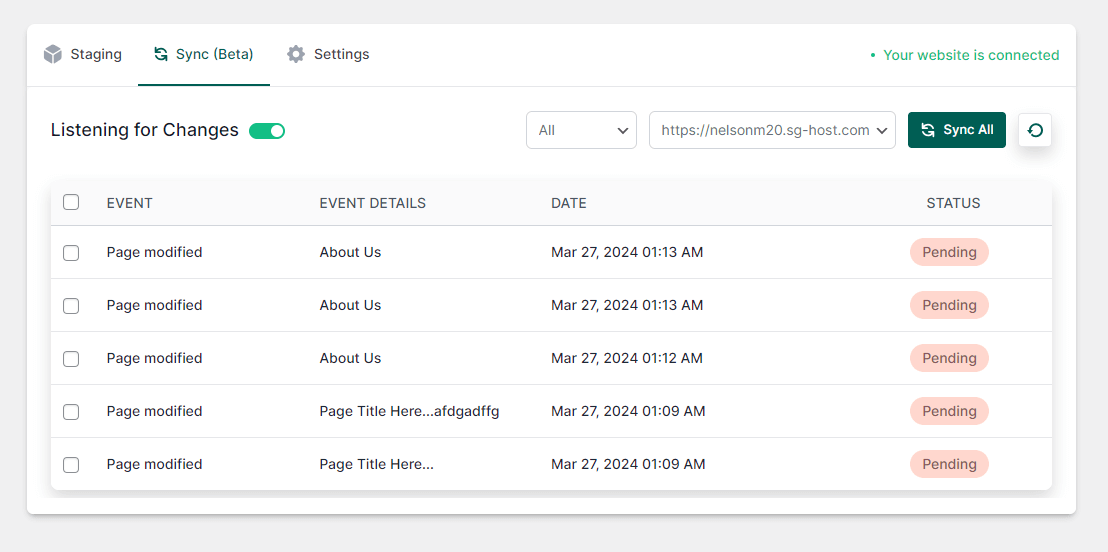
In the screenshot below from the staging site, notice there is a list of events. Each of these has some details, a date, and a status. What I did was add a new page, then update the page, then update the About Us page 3 times. Each of these are recorded as events, since the system is “listening” for the changes. The status means it was not synced back to the live site.
Sync Changes
The crazy cool part of all of this is the sync feature. To sync the changes from the staging to the live site, you can click the green “Sync All” button, or you sync individual events by selecting specific events with the checkboxes on the left in the list. This is the part that is mind-blowing, as I have never heard of this. Most staging sites do not have this kind of feature.
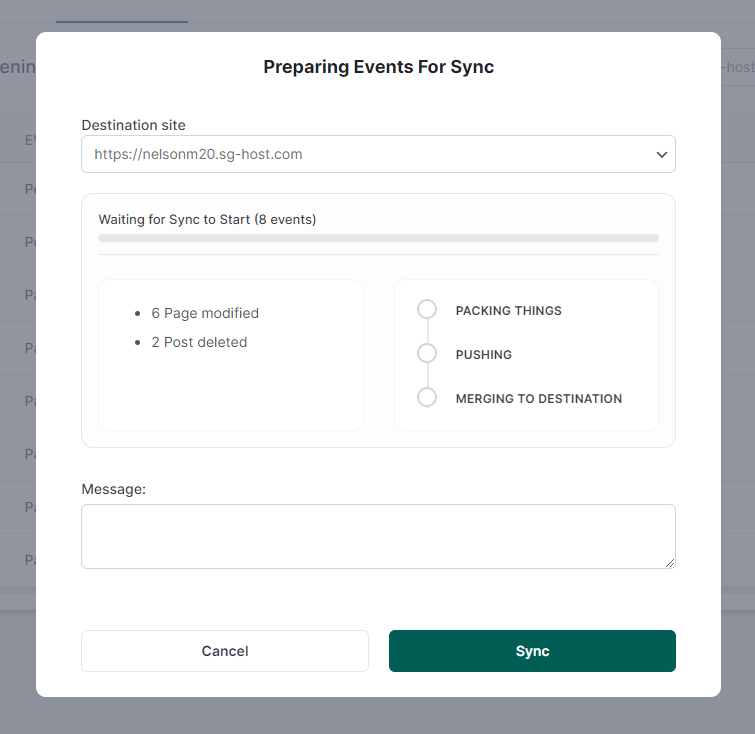
Please be sure to watch the video above, as this guide is definitely more video focussed and easy to demonstrate than with text, so I do hope you watch that. Now go have some fun with this on your ow sites!






0 Comments