Move Labels To The Left
In a recent tutorial I showed you how to add labels above your contact form fields. But we have an additional option related to the labels that I am excited to share with you. Sometimes you want to have a traditional form with the fields stacked neatly with the labels on the left, and we got a feature request about this for our plugin, so we added a setting for it. Today I will show you how to move the Divi Contact Form module field labels to the left side of each field.
▶️ Please watch the video above to get all the exciting details! 👆
FYI: You can do this with a setting directly in the Divi Contact Form module with our popular Divi Contact Form Helper plugin! Take a look, it is so easy!
1. Follow The Previous Tutorial About Showing The Form Fields
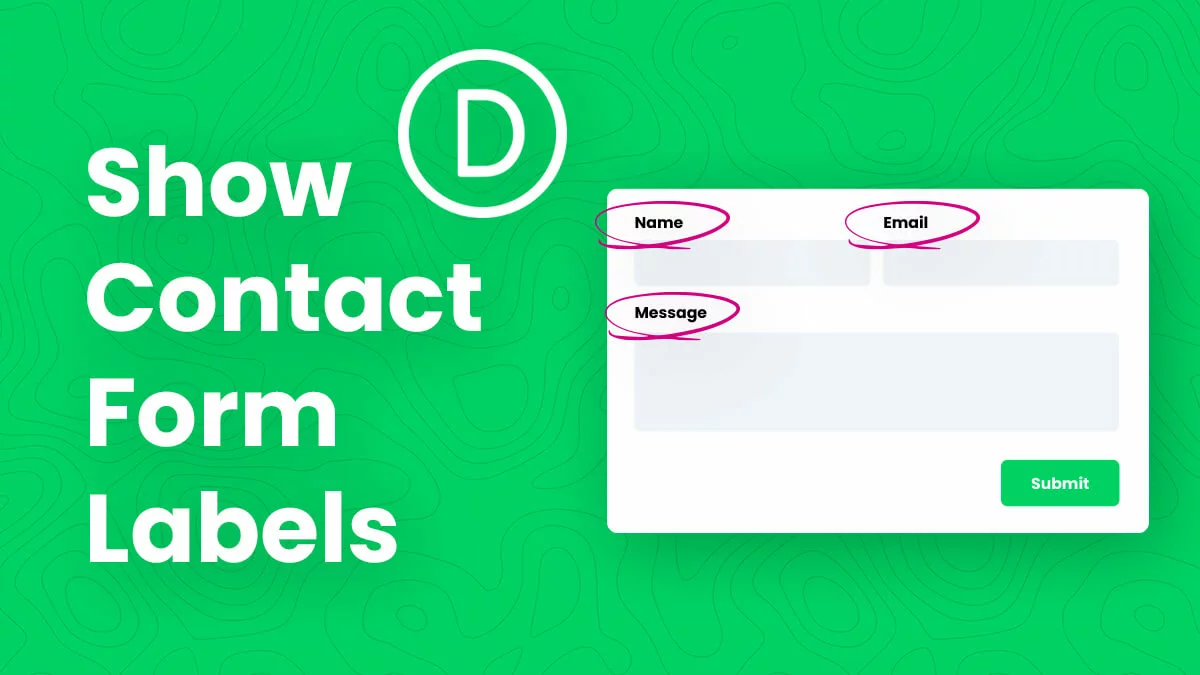
The first step in the tutorial is to first complete our previous tutorial. This is required in order to actually show the labels on the fields before we can move them. Just head over the tutorial about showing the field labels and follow the steps, then meet us back here for step #2.
2. Make The Fields Fullwidth
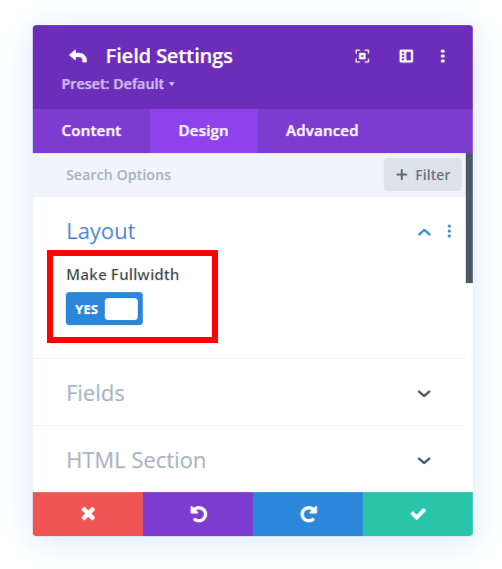
The second step in the tutorial is to make sure all the fields in your form are set to fullwidth. This is necessary to achieve the desired layout. To do this, simply open the Contact Form module settings and then open each of the individual fields. In the Design tab, open the Layout toggle and be sure to enable the Make Fullwidth setting.
3. Add A Custom CSS Class To The Divi Contact Form
The third step in the tutorial is to add a custom CSS class to the Contact Form module. This is used to target the correct module with the code in order to only move the labels on this specific contact form module.
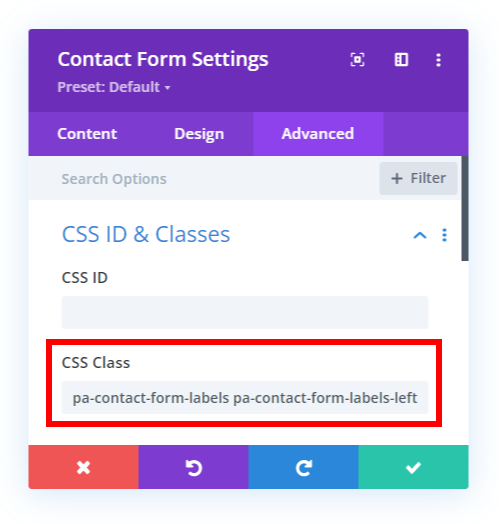
To add the custom class, open the module settings and go to the Advanced tab. Go to the CSS IDs & Classes toggle. Place the class “pa-contact-form-labels-left” in the CSS Class input field of the Contact Form module. Since this tutorial is basically an addon to the previous tutorial, you will now have two CSS classes in the module separated by one space.
4. Add The Custom CSS Code Snippet
The second step is to add the custom CSS code to your website. This step is also very easy, and we are doing the work with only a few lines of CSS.
Where To Paste The CSS Code
1. Divi Assistant
If you are using our Divi Assistant plugin, simply paste the code in the CSS tab in the custom code window in the Divi Visual Builder.
2. Child Theme
If you are using a child theme, paste this code into the style.css file. If you don't have a child theme, you can generate a child theme directly on your site or download our free child theme.
3. Divi Theme Options Integration
Otherwise, paste this code in your Divi>Theme Options>Custom CSS code box.
If you need help understanding where to paste the code, please check out our complete guide about where to add custom code In Divi.
/*move the contact form field labels to the left side*/
@media (min-width:981px) {
	.pa-contact-form-labels-left p.et_pb_contact_field {
		display: flex;
		align-items: start;
		justify-content: flex-end;
		gap: 2%;
	}

	.pa-contact-form-labels-left p input,
	.pa-contact-form-labels-left p textarea,
	.pa-contact-form-labels-left .et_pb_contact_select {
		width: 80%;
	}
}
After adding and saving the code, your form fields would look like this:
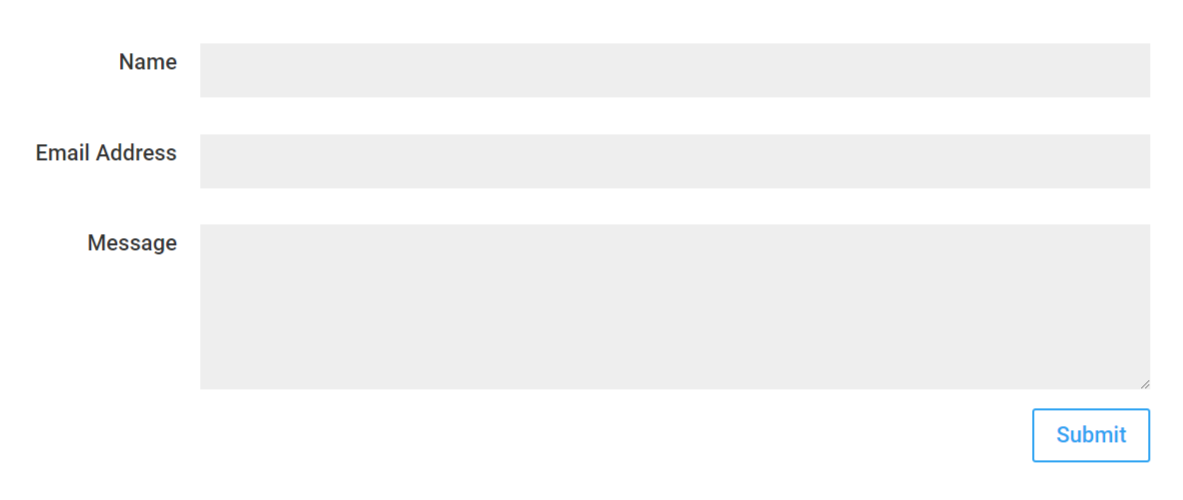
The code is very simple. It targets the custom class added to the module and changes the display property of the label element. It aligns the text to the left, and sets a width of the fields to 80% so that the labels have room on the left side. You can customize this value to whatever works best based on the length of your label text.
Do It With A Setting!
Make life easier and use the Divi Contact Form Helper plugin instead, the ultimate Divi Contact Form upgrade with awesome features and settings!
The Divi Contact Form Helper plugin has settings built in to show the labels on the frontend, customize the label text, and move the labels to the left side. Using the plugin is super easy and works just like other Divi modules.

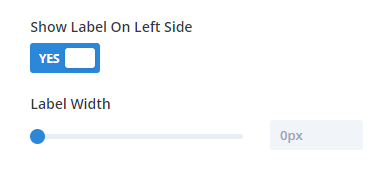
To learn about how to use these settings, please check our documentation.






0 Comments