Success Button
Show/Hide Success Message
The success message comes standard with Divi, but if you are using a redirect it can accidentally show for a split second even if you are not using it. So this is why we created an option to hide the success message if you prefer.

Rich Text HMTL Editor For Success Message
Until now, you could only write a tiny little success message in one input field. But now we have opened up the possibilities by changing the input field into a text editor! You can now format your success message with headings, bold, italic, etc. and even use any HTML! Pretty nice upgrade.
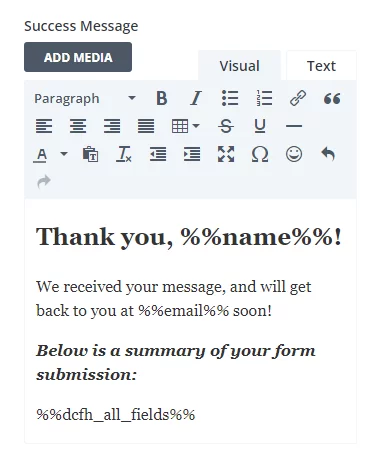
Message Pattern Merge Tags In Success Message
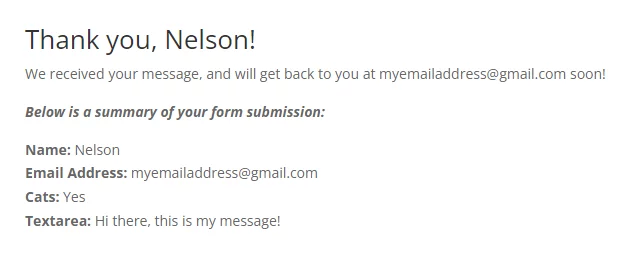
Along with the rich text editor, now you can add merge tags in the success message! Take a close look at the result below! So you can say things like “Thanks Nelson!” by using merge tags like “Thanks %%name%%!” or any of our custom merge tags. This allows you to really personalize the message, but also to display the form fields directly here!
Loading Icon When Form Is Submitting
Normally in Divi when the form is in the process of submitting, it can be unclear what is happening, so we have added a GIF spinning icon to indicate that something is happening. This should reassure users that the form is in the process of submitting. This setting is enabled by default.
Use Success Button
By default, Divi already has the option to show a success message as text. But where do people go after submitting a contact form on your site? Chances are it’s a bit awkward. Why not direct the user to another page instead of letting them exit the site? This is your chance to direct their attention to something else you want to sell or educate the website visitor about, and adding a button is the way to do it. Simply enable this toggle setting and a button will be added to the success message after a visitor submits a form.

Success Button Custom Text
It is important to give the user a proper call-to-action to direct them after submitting the form. This setting allows you to enter custom text for the success button to prompt the user to click to go to the link.

Success Button Link Type
You can choose what type of link to use. If you are directing the user to another page on your site, then select the Page option. If you want to direct the user to a custom or external URL, then select the Custom URL option.
Success Button Custom URL
If you selected “Custom URL” for the Success Button Link Type then a new input field will appear for you to enter a custom URL. Be sure to include the https:// at the beginning.
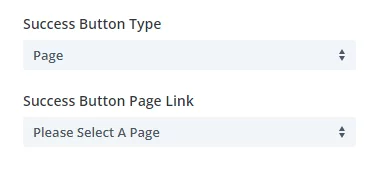
Success Button Link Page
If you selected “Page” from the Success Button Link Type then a new dropdown setting will appear with a list of all the pages on your site for you to select the page for where you want to direct the user.
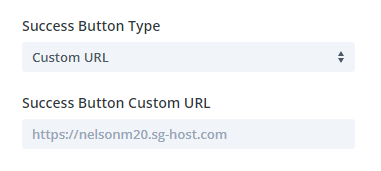
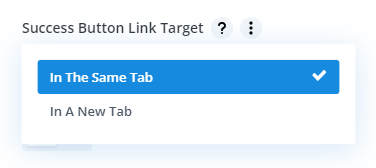
Success Button Link Target
If you want to keep the current session moving, you can choose to open the button link in the same window. Or, if you want to leave the page open and start a new tab, you can open the link in a new tab.
Design Settings
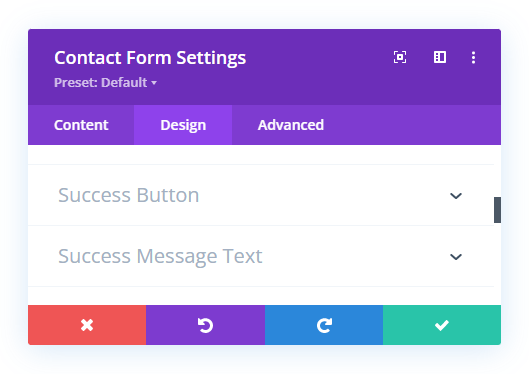
Success Button
Not only do we provide the awesome functionality of the success button, we also provide all the button design settings for you to style and customize the button however you want. These settings are just like other button design settings in Divi.
Success Message Text
By default, Divi provides success message text option, but the failed to provide any design settings. So our plugin adds all the standard text and font design settings for you to style the success message text however you want!
Automatic Redirect
Enable Redirect URL
If you prefer to automatically redirect the user after they submit the form, you can skip the success message and button enable this setting to direct the user to another page or custom URL without any interaction.

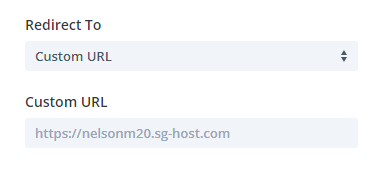
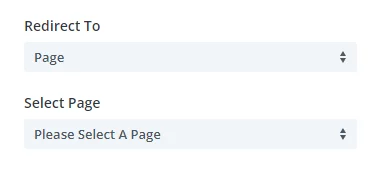
Redirect To
You can choose whether you want to redirect the user to another page on your site, or you can redirect the user to a custom or external URL.
Custom URL
If you selected “Custom URL” for the Redirect To option then a new input field will appear for you to enter a custom URL. Be sure to include the https:// at the beginning.
Select Page
If you selected “Page” from the Redirect To option then a new dropdown setting will appear with a list of all the pages on your site for you to select the page for where you want to redirect the user.
Redirect Delay
After submitting the form, you may want to show the success message for several seconds, but then automatically redirect the user. This setting allows you to set the amount of time in seconds for the redirect to wait after a successful form submission.

