In this guide you will learn how to convert Divi Contact Form entries to custom fields in a post type. This allows you to display the form entries as posts on the frontend of your website.
1. Set Up Your Post Type And Custom Fields
Since you are converting form entries to posts, you naturally will need a post type. This could be a built-in post type such as Posts or Pages, but more likely you would wan to create your own custom post type(CPT) to use for this.
In our example of adding testimonials, we will create both the post types and custom fields using the free version of Advanced Custom Fields (ACF). However, you should be able to use any post type or any custom field solution in WordPress.
Go ahead and set up your custom fields based on the data that you want to show on the frontend.
2. Set Up Your Contact Form Fields
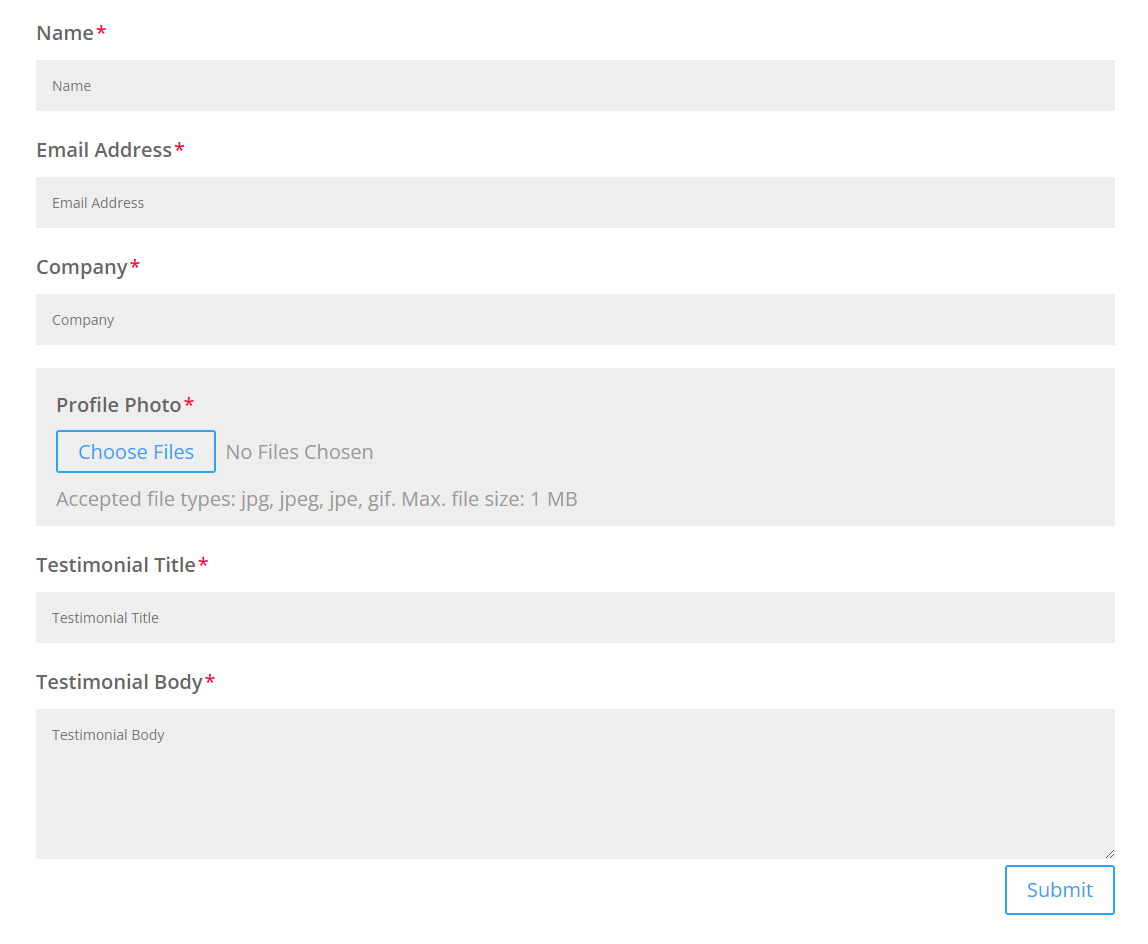
Since the contact form is where the data originates from the user, it is an important step to make sure all the required fields that you need for data in your custom fields are correctly added to the Divi Contact Form. As you add the form fields, you may need to select different types of fields to match the type of data needed. For example, you may need an input field that will be used for the post title be. Or you may need to add a file upload field to be used for the post featured image. These are things you need to think about and set up before proceeding.
3. Convert A Form Entry To Post
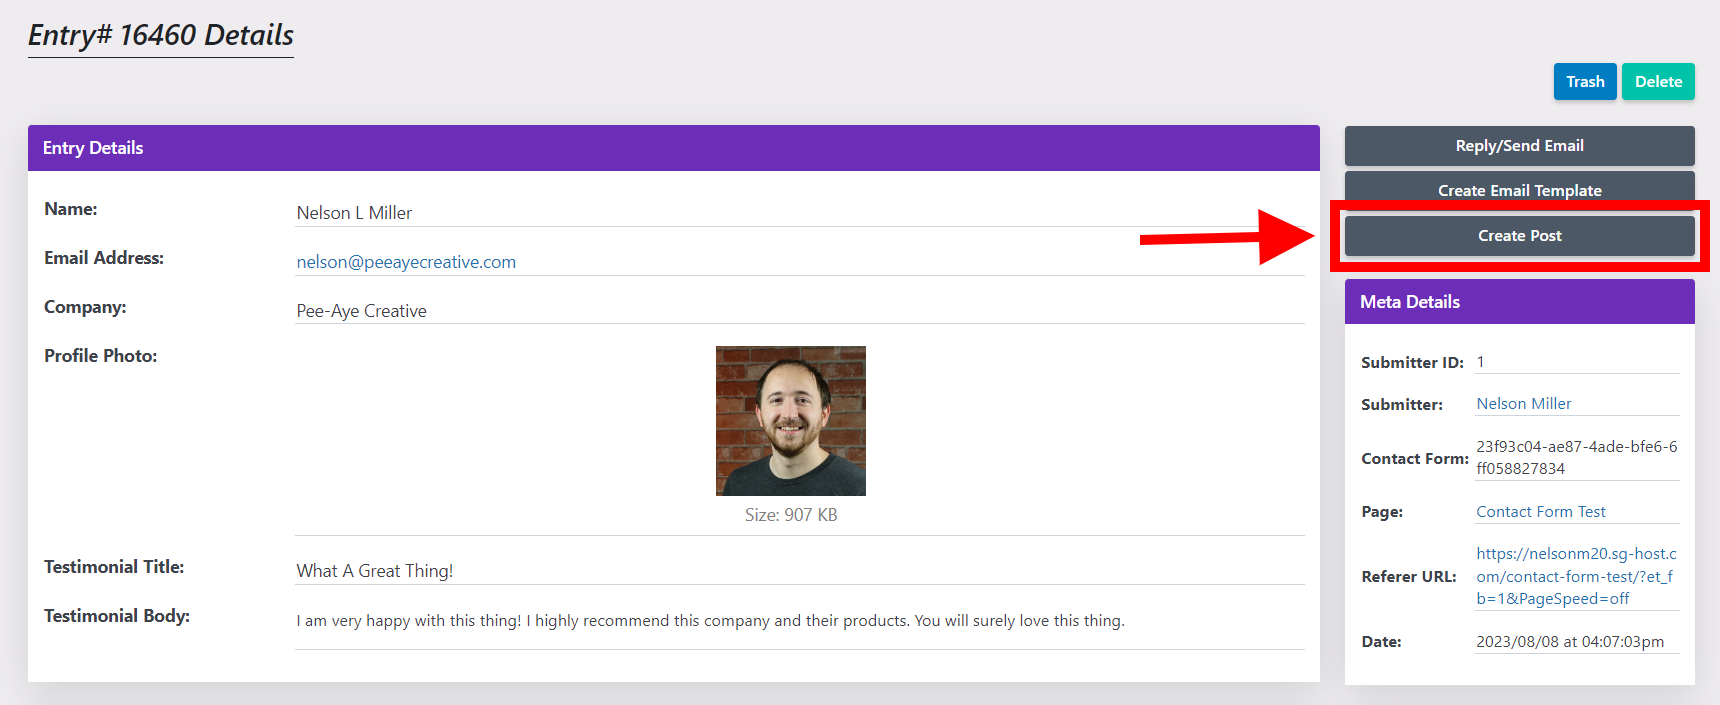
At this point, you will start collecting form entries. Don’t forget to set up the very important steps required to save entries to the database. After you receive some entries, you can go to your website dashboard and view the form entries. From the WordPress dashboard click on Contact Form>Entries. From the list of entries, click on an individual entry to begin converting it to a post.
On the right side are some actions you can do based on the entry. You can reply to the entry, create an email template from the entry, or create a post and map the fields to a custom post type from the entry. This last option is what we want for this tutorial – go ahead and click the gray “Create Post” button.
4. View Or Edit the new Post
After creating the post, a notice will appear at the top saying it is successful. Now you can click the convenient links to edit the post or view the post.

5. Display The Post On the Frontend
The final step is displaying the post on the frontend. This is where it depends on a lot of things. The only current way to display posts by default in Divi is with the Blog module. We are working on some ideas to expand this.


